Hawaiian Pulled Pork Sliders

IMG_3704.JPG

The tropical slaw adds a great crunch and freshness to the slow cooked pork.  I also just love a recipe that uses up an entire fresh pineapple.   Ok, there were a few bites eaten during the prep phase with a tiny sprinkle of sea salt.  Cooks treat!

This recipe makes a big batch for a crowd of about 6-8.  Its great for game day and will make your house smell like a luau (if its also a pork roast!) 

For the slow-cooked pork:
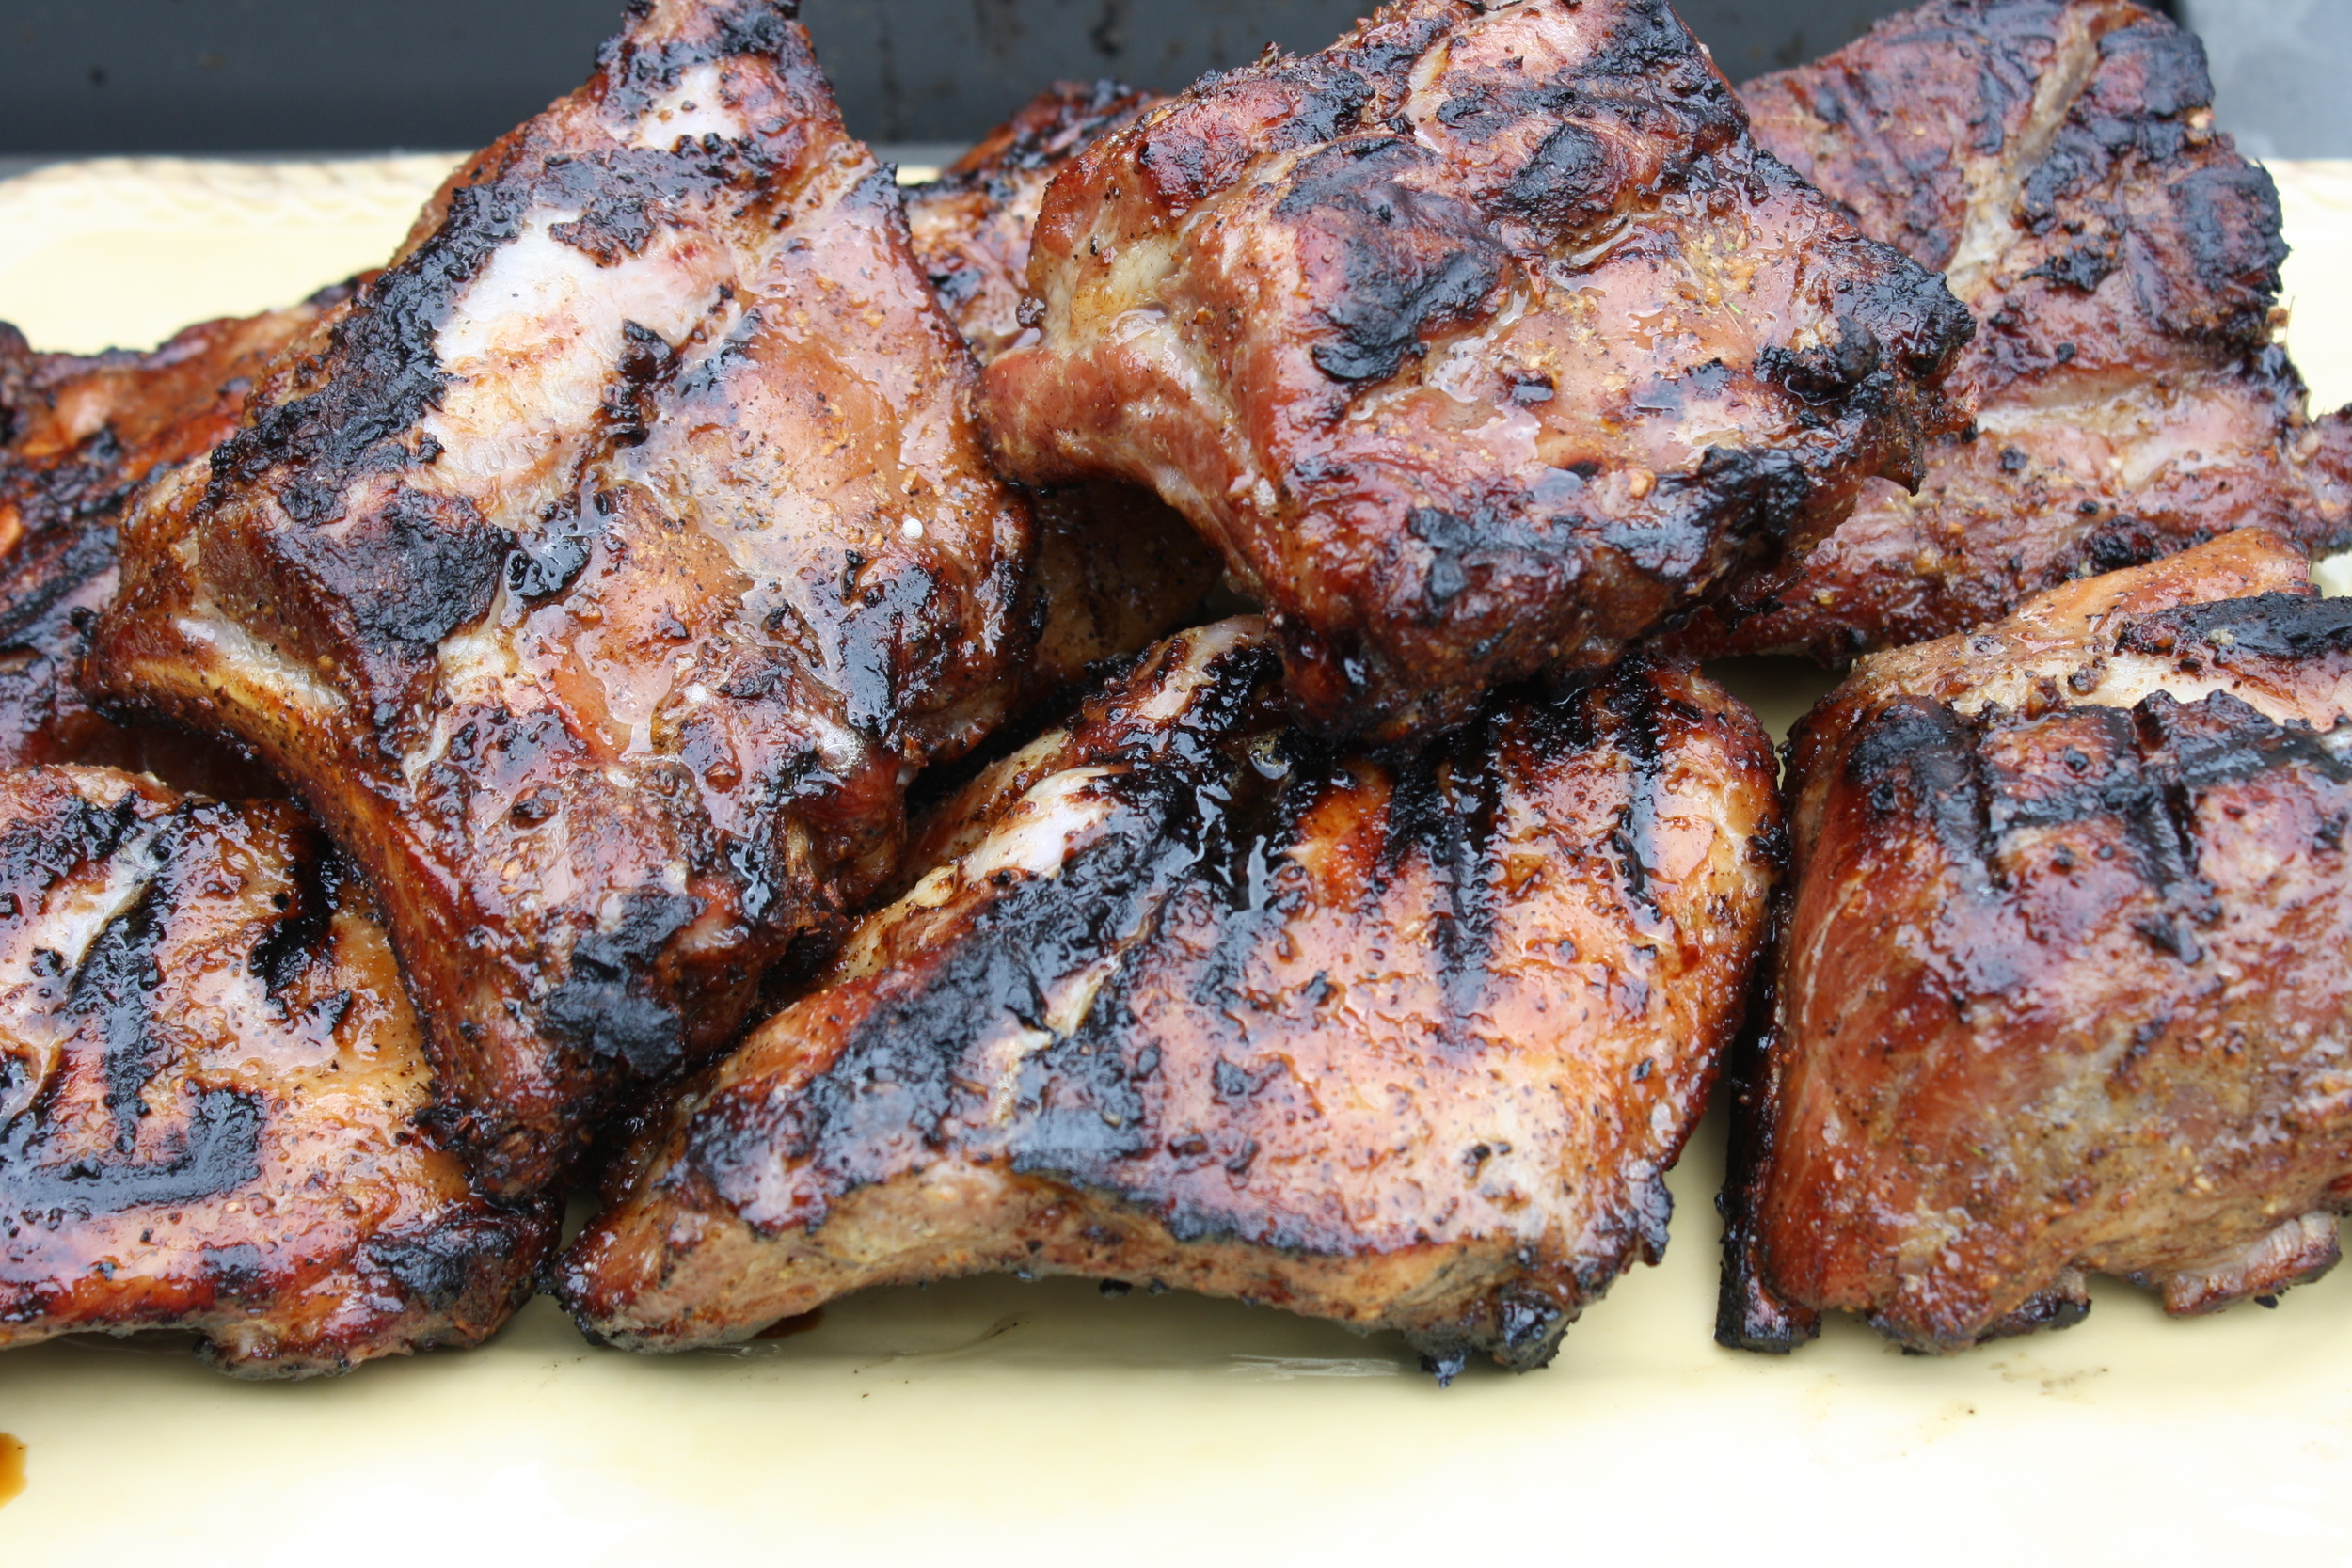
  • 2 pork shoulders
  • 1 onion, sliced
  • 1/2 fresh pineapple, cored and chopped
  • 1/2 cup ketchup
  • 1 tsp hot sauce
  • 1/2 cup apple cider vinegar
  • 1/4 cup brown sugar
  • 1/4 cup molasses
  • 3 garlic cloves, chopped
  • salt & pepper
  • slider buns.  We love the sweet Hawaiians!

1. Except the pork, mix all ingredients in a bowl.

2. Place pork into the slow cooker, pour combined ingredients over pork. Massage sauce into pork and cover. Slow cook for 8 hours on low.

3. When cooking is complete, use 2 forks for pull pork into shreds.

For the Tropical Slaw:

  • 1/2 red cabbage shredded
  • 1/2 green cabbage
  • 1/2 fresh pineapple, chopped
  • 1 bunch chopped cilantro
  • 1/2 cup mayonnaise
  • 2 tbsp cup apple cider vinegar
  • 1 lime, juiced
  • salt & pepper

1.Whisk all ingredients together, except for the cabbage and pineapple.

2. Pour dressing over cabbage and pineapple.  Season with more salt & pepper to taste. (You may wish to add more lime juice or vinegar. Your preference.)

3. Chill for at least an hour.

Serve the sliders on buns adding pork and then slaw.

Enjoy!

xo and a pinch,

Kelly

Mushroom Pizza Bites

Like most humans that walk that earth and eat, I LOVE pizza.  I love all pizza.  I love pizza with mushrooms, pepperoni, peppers, sausage, arugula, pineapple, meatball, lobster- anything.   I love a white pie, a dessert pie, a clam pie.   You get the picture.   Unfortunately, pizza = carbs.  

So, when those pizza cravings come (daily), I love these little bites.  They're easy, versatile, pizza-y and carb-free.  I know, sauce and cheese on a mushroom, does not a pizza make. But with your favorite toppings, these may hold you over until the delivery guy arrives.  

Heres what you'll need for this "non-recipe" recipe:

  • 8-10 mushrooms, cleaned, stems discarded
  • olive oil, 1 tbsp
  • garlic salt, about 1/4 tsp
  • 1/2 cup marinara sauce
  • 1/2 cup shredded mozzarella cheese
  • basil, torn for garnish
  • red pepper flakes  
  • dried oregano  

1.  Preheat oven to 350 degrees

2.  On a sheet pan, covered with parchment paper (or not) place mushrooms in pile.  Drizzle olive oil and sprinkle garlic salt and toss.  Arrange on the pan, mushroom ribs facing up. Bake in the oven for 5-8 minutes.

3.  Remove from the oven and carefully pat mushrooms dry with a paper towel.  Add a teaspoon of sauce to each mushroom and top with cheese.  Bake again for another 5-8 minutes.  Turn the oven on broil for the last 3 minutes to brown the cheese.

4. Remove from the oven and let rest for 5 minutes.  Top with red pepper flakes, dried oregano and torn basil, if you'd like.  

Cravings satiated! 

xo & a pinch,

Kelly


The Pamelita Pico

One of Kelly's favorites is my pico de gallo.  Its such a staple around here, we were so surprised that it wasn't on the blog as we were celebrating M&P's first blog-birthday!

It's a quick and easy recipe that everyone can make all summer! Actually, you can make it any time of year, as long as the tomatoes in your grocery store don't look like plastic!  (see insta video!)

We coined the phrase "pamelita pico" in honor of my friends in Mexico City who nicknamed me "pamelita.." Love & miss them. 

pico ingredients.JPG


What you'll need for a party of 4-6 people. 

  • 5 plum tomatoes
  • 1 small white onion
  • 1/4 cup finely chopped fresh cilantro 
  • 1 lime (zest, not juice) 
  • Kosher salt
  • Fresh ground pepper
  • 1 jalepeno pepper (only if you like it spicy!) 


The key to the salsa is ensuring that you've cored and seeded the tomatoes. I know, it's counter intuitive but, it's the way to do it. Cut the tomato in half lengthwise, scoop out "the guts!" 

Chop up the tomato into little baby pieces. Do the same with the onion, tiny little pieces. Finely chop the fresh cilantro, unless you like a loose chop and mix together in a small bowl.

Add the zest of one lime, salt and pepper to taste. 

If you like it hot, use 1/2 or 1 whole jalapeno pepper finely chopped into baby pieces. 

Voila! It's best if it sits in the fridge until you're ready to serve it with tortilla chips. 

If you're daring you can make your own chips, too! All you need is corn tortillas, corn oil and tons of salt! 

A recipe for another day... 

Enjoy, xo

Measure 

pico top.JPG


Roasted Baby Peppers with Ricotta & Caramelized Onions

IMG_4809.JPG

Ok, so I have this weird little obsession with these little baby peppers.  I think about them a lot.  Way more than a girl needs to be thinking about peppers.  I think its their tiny, boat-like shape, just ready to be stuffed with whatever I want and then devoured in one bite!   I threw these together as an appetizer at Pam's birthday because baby peppers and fresh ricotta are always invited to our parties.  In fact, its not a party until they arrive... with the Prosecco.   

Heres what you'll need:

  • Baby peppers 10-12, halved and seeded
  • 3 white onions
  • brown sugar, 1 tsp
  • Ricotta Cheese, about 1/4 cup.
  • Worcestershire Sauce, 1-2 shakes
  • salt & pepper
  • olive oil, 2 tbsp.
  • butter, 1 tbsp.
  • fresh thyme leaves, for garnish

Here's what you'll do:

1.   Preheat the oven to 350 degrees while you prepare the peppers.

2.   Toss pepper halves, salt, pepper, olive oil together and then spread into an even layer on a baking sheet.   Bake for 10 minutes or until moderately softened.  Let cool.  Then pat dry with paper towel.

3.  In your largest skillet on medium heat, cook onions with butter and a bit of olive oil, Worcestershire, salt & pepper until reduced, brown and caramelized about 25-30 minutes.   Once the onions are browned, add brown sugar and stir to dissolve.  Add water (broth or wine) during the cooking process to prevent burning or sticking to the pan.  Let cool.

4. When your ready to serve, top each pepper half with a dollop of ricotta cheese and a spoonful of onions.   Garnish with thyme leaves.

* pepper de-seeding tip:  I keep a large bowl of water next to my cutting board.  Once I cut a pepper in half, I scrap the seeds and white ribs out with my fingers under the water. This way the seeds fall away easily.

We know that your stuffing these baby peppers too!  Tell us.  With what?!

xo & a pinch

Kelly


IMG_4807.JPG

Grilled Pizza Party!

Come on over!  Its a party!

Come on over!  Its a party!

Measure rolling out our dough! 

love this picture of me (measure) I feel like an Italian grandmother! 

love this picture of me (measure) I feel like an Italian grandmother! 

How wonderful is it that you can grab pizza dough from the grocery store and quickly transform yourself into a pizza Chef in your own kitchen?!   You can go from calling-it-in to Pizza Rock Star, so why not?   Grab some dough from your dairy section and get rolling.

We love Pizza night at the M&P kitchens.  Christmas, three years ago, Kelly & Pete bought us the greatest gift!  - a "pizza kit!"   It was awesome;  the stone, the giant wood spatula, the rolling cutter... all things pizza in a big basket.  Needless to say, we made pizza for months!  You don't really need all the bells & whistles, we just love them.   All you really need is a sheet pan and your grill.

As summer ends and our grilling days become numbered, we decided to take it outside.  Grilled Pizza...as if pizza needed to get more delicious.

All the crusts are rolled out into a large rectangle shape, only because that's the shape of the aluminum pan we had for the grill!  We grilled the dough for 8-10 minutes on medium-high heat and then began "dressing" each pizza to our hearts content.  The results were personalized pizza perfection!   Here are our four creations:

Roasted Tomato Basil Pizza

On a sheet pan, we tossed tomatoes with olive oil, salt, pepper, oregano and roasted in a 350 degree oven for 20 minutes.  We topped the grilled crust with the roasted tomatoes and fontina cheese and grilled again for 5-8 minutes to melt the cheese.  Close the grill top or tent with aluminum foil to melt the cheese.   Once off the grill, top with fresh basil leaves.

  • Three large tomatoes
  • And, if you want, some baby grape tomatoes (halved)
  • One tablespoon olive oil
  • 1/2 cup of fontina cheese
  • Fresh basil
Tomato, Fontina, Basil 

Tomato, Fontina, Basil 

Roasted Red Pepper and Artichoke Pizza

Top the grilled crust with fresh ricotta, sliced roasted pepper and artichoke pieces and placed under the covered grill for 5 minutes.  We topped with salt, cracked peppercorns and torn basil leaves.

  • Marinated artichoke hearts
  • Marinated Roasted Red Peppers
  • Ricotta cheese
  • Fresh basil leaves
Roasted Red Pepper, Artichoke 

Roasted Red Pepper, Artichoke 

Mushroom, Thyme & Goat Cheese Pizza

  • 10-13 Mushrooms (we used Baby Bellas) sliced.
  • 1 Shallot, sliced
  • Olive Oil
  • 1/2 bunch fresh Thyme
  • Goat Cheese 3 oz. log
  • Secret ingredients:
    • Brown Sugar (a generous sprinkle)
    • Worcestershire Sauce (a generous shake or 2)

Swirl olive oil in large skillet over medium heat. Once the oil shimmers,  add shallot & 1/2 bunch of thyme (you can leave the stems on, let the leave fall off and pull the stems out later). Add mushrooms and reduce, probably about 5-10 minutes, then add the secret ingredients. The longer they cook on low heat, the better.  Add water (or red wine) to the mushrooms if you see the ingredients stiffening up.

Top grilled crust with generous sprinkle of crumbed goat cheese and mushroom topping.   Heat under covered grill for 5 minutes to warm cheese.   Garnish with fresh thyme leaves.

Mushroom, Thyme & Goat Cheese Pizza

Mushroom, Thyme & Goat Cheese Pizza

Prosciutto & Arugula Pizza

  • 1 cup fontina cheese,
  • 1 cup arugula
  • 1/4 lb prosciutto
  • Olive oil drizzle (about 1 tbsp)
  • 1/2 Lemon, squeeze

Sprinkle the fontina across the grilled crust, top with slices of prosciutto and arugula. Drizzle with olive oil, a squeeze of lemon and voila!

Prosciutto & Arugula Salad

Prosciutto & Arugula Salad

All were scrumptious!   But THE WINNER IS....

Mushroom, Thyme & Goat Cheese 

Mushroom, Thyme & Goat Cheese 

Mushroom, Thyme & Goat Cheese Pizza!

What a surprise!  Kelly's husband doesn't even like mushrooms!   We think it was the secret ingredients.... brown sugar for the win!

What is your favorite type of pizza?

Happy Pizza Grilling!

Mangia! Mangia! Mangia! ..y Bevi  !

Measure & Pinch xo


Crab Cakes a la Pearl

IMG_4683.JPG

The Pearl Oyster Bar is Kelly's "ultimate most favorite restaurant"  in New York (in her words).  She talked about the restaurant, the lobster roll, the oysters and the crab cakes with such love in her heart that I couldn't wait to try it! Being from Boston, I do consider myself a  connoisseur of the "lobsta" roll.

I was so excited when we finally went!  It was a girls night,  for my birthday! ( I love my birthday ).  They don't take reservations, so we got there just as it was opening; 6:00 PM and grabbed the best seats in the house at the bar.  It was the start of the best night ever and Kelly could not be more right about the Pearl.  This was the best lobster roll I have ever had.  And, the fried oysters? Ridiculous. This place is amazing...  a NYC must-go.

All that said, unfortunately, they stopped making the crab cake. (Kelly nearly cried)  So, we bought the cookbook,  Lobster Rolls and Blueberry Pie  written by the owner and Chef of Pearl Oyster Bar, Rebecca Charles (she was there, cooking that night!) and now, we re-create the Pearl crab cakes whenever we want!  (Rather, whenever lump crab meat is on sale!!)

We make them a bit smaller and Kelly makes a really easy remoulade-ish sauce.  These cakes are a staple for special occasions or whenever you feel like something super delicious.

IMG_4686.JPG

What you'll need for Pearl Oyster Bar Crab cakes.  We changed the recipe a tiny bit.

  • 1 lb lump crab meat
  • 1 tsp Dijon Mustard
  • 1 tsp dry mustard
  • 2 shakes of hot sauce
  • 4 shakes Worstershire sauce
  • 2 eggs
  • juice of 1/4 lemon
  • 1 tsp chopped chives, plus extra for garnish
  • 1 tbsp. diced and seeded tomato
  • 1/2 cup of toasted bread crumbs (Rebecca makes them homemade, we use 4C)
  • butter  (Rebecca uses clarified butter, we just melt some butter)
  • lemon wedges for garnish

What you'll do:

1.   In a large bowl, combine mustards, hot sauce, Worcestershire, salt, pepper, eggs and lemon juice.

2.  Add chives, crab, tomato and bread crumbs and toss together.

3.  On a large baking sheet, sprinkle bread crumbs into an even layer.  Using a 1/4 cup measuring cup to form, press mixture into the cup and unmold onto the bread crumbs.

4.  Sprinkle tops of crab cake with bread crumbs. Refrigerate for at least 30 minutes.

5.   When you are ready to fry, preheat oven to 450 degrees.  Heat a large ovenproof fry pan on your stovetop.  Melt 2 tbsp butter in the pan.   Remove the crab cakes from the refrigerator.

6.  Let the excess breadcrumbs fall away as you add each crab cake to the pan into hot melted butter.

IMG_4670.JPG

8.   Don't fuss with them.  Let them get golden brown-  about 4 minutes.

9.   Gently flip each crab cake, then place pan into the oven for about 5 minutes, until golden.


IMG_4680.JPG

Remoulade is a classic French condiment requiring much more preparation than Kelly has patience.  Here is her simple, special crab cake sauce:

  • Ketchup 1 tsp.
  • Mayonaise 1 tsp.
  • Dijon mustard 1/2 tsp.
  • Relish 1/2 tsp.
  • Paprika, a dash or 2
  • Juice of 1/2 lemon
  • salt & pepper

Whisk all ingredients together and top your crab cakes.

New England girl in a Jersey Shore world.

New England girl in a Jersey Shore world.

Thank you Pearl, for the most delicious memories and never-ending inspiration!

Thank you Pearl, for the most delicious memories and never-ending inspiration!

Visit the Pearl Oyster Bar at its one and only perfectly quaint location on Cornelia Street in the West Village. 

xo- Measure


Mexican Stuffed Baby Peppers

Baby peppers inspire me. I find myself thinking about them a lot!  Is that weird?  yes.

Months ago, I made a similar recipe to this one, but with an Italian twist; cannellini beans and bruschetta topping.  I posted it on Facebook and got lots of nice comments and "likes."  I couldnt help but wonder whether my friends were loving these cute baby peppers as much as I do and I wondered, of course- what are they doing with them?!  Tell us!

Also wondering...Did baby peppers inspire the creation and social media sharing of  Measure & Pinch?  quite possibly.

Have I turned into one of those people that answers my own questions?  clearly.

Here's what you'll need for 15-20 pepper appetizers:

  • Approximately 1 cup "Regret- Free Re-fried Beans" See, recipe below.
  • 1 can of red beans, 15 oz, rinsed
  • 1 clove garlic, minced
  • SPICES
    • 1/2 tsp cumin
    • 1/2 tsp chili powder
    • 1/2 tsp cayenne peppers
  • 1 bag baby peppers, rinsed and halved
  • 1/2 cup cheddar cheese, shredded
  • 1/4 cup sour cream
  • 1/4 cup cilantro leaves
  • 1 can jalepenos or one fresh jalepeno, sliced

Regret-Free Re-Fried Beans:

Combine beans, minced garlic and spices in a large skillet.  Heat on medium until the garlic is fragrant and the beans soften.  Mash beans with a potato masher until chunky.  Add water as you mash to get a smooth consistency.  Add salt & pepper and stir.  Heat 5-8 minutes.

For the Stuffed Peppers:

1.   Pre-heat oven to 350 degrees

2.  Slice each baby pepper in half length-wise, remove ribs and seeds.  Toss all of the halves together with a drizzle of olive oil, salt & pepper.  Place on baking sheet, spacing the pepper halves apart and placing skin-side down.

3.   Bake for 5-8 minutes.  Let cool.  Pat excess liquid with a paper towel, if necessary

4.  Spoon Healthy Re-Fried Beans into each pepper half, top with shredded cheese and return to the oven for 5 minutes until cheese melts.

5.  Garnish with sour cream, a slice of jalepeno and a cilantro.  Enjoy!

What are you doing with your baby peppers? 

Also-  Have you ever tried to take a good picture of re-fried beans??!   impossible. 

xo & a pinch,

Kelly

Not So Naughty Nachos

Turkey Mushroom Nachos with Fresh Quick Pico

Dinner is served!

Dinner is served!

When its your 15th Birthday, this is dinner!

Our oldest boy turned 15 this past weekend, and like a good mom (step-mom, in this case), I ask my boys what they'd like for their birthday dinner and I'll cook whatever they wish.   Our house is all boys, all the time.  Even the dog is a boy.  This dynamic translates into sports & snacks 24/7.   So, it was no surprise when the birthday boy requested nachos for dinner. Chips are a food group, aren't they?

These nachos aren't completely regret-free, but they are a nice balance of good and not-so- good.  There are lots of little secrets inside that do a (growing boy's) body good.

Here's what you'll need:

  • 1 large bag of restaurant style tortilla chips
  • 1 lb lean ground turkey meat
  • 15-20 mushrooms (I like baby bellas) chopped in the food processor
  • 1 small zucchini, chopped in the food processor
  • 1 small white onion
  • 3 cloves garlic
  • 2  15 oz cans of small red beans, rinsed
  • 2 cups shredded cheddar cheese
  • pico de gallo, see quick & easy recipe below
  • low fat (or not) sour cream
  • Spices:   cumin, chili powder, cayenne, paprika
  • 1 tsp hot sauce
  • jalepenos, canned or fresh, sliced (optional)
  • black olives, canned, sliced (optional)

For the pico de gallo, you'll need:

  • 3-4 ripe tomatoes, chopped
  • 1 small bunch cilantro, chopped
  • 1 small white onion, chopped
  • 2 limes, juiced
  • salt & pepper

About the tomatoes, Pam says " With authentic pico, you have to core the tomatoes!  No seeds!"

I say "I dont have time for that nonsense.  It's 'quick un-authentic pico.'"

Authentic pico de gallo also calls for fresh jalepeno.   We have toddlers, so I leave the jalepenos out of the mix and top the nachos with them.  This way, they are visible and easy to pick out by the grown-ups.

Readers, the level of pico authenticity is within your discretion.  We trust you.

Combine ingredients in a large bowl, taste for deliciousness, and then store in the refrigerator for 1 hour or longer.  The longer it sits, the better it gets.

take a yummy bite!

take a yummy bite!

For the turkey topping:  Heat a large skillet over medium high heat with a swirl of olive oil.  Add the ground mushrooms, ground zuchinni and garlic to the skillet and brown.  Season with salt and pepper and cook until the vegetables reduce down and are soft, about 5 minutes.   Create a circle in the middle of the pan with your spatula - a place for the ground turkey to touch the pan.  Brown the meat, tossing together with the vegetables for about 10 minutes.  Season with more salt & pepper.  Add 1 tsp cumin, 2 tsp chili powder,  1/2 tsp paprika, 1/4 tsp cayenne and 1/2 tsp of hot sauce. Let simmer for 10 minutes.  Add water if necessary to keep the meat moving around. Taste for spicy flavor preference.  Add more seasoning, depending on how hot you like it.

For the beans:  Heat a smaller skillet over medium heat, add a swirl of olive oil.  Add beans and 1 glove of crushed garlic.  Add salt and pepper.  Mush with a potato masher until chunky.  Add water to gain a creamy consistency.  Heat for about 10 minutes.

Build your nachos:    Pre-heat oven 350 degrees.   Line a large baking sheet with aluminum foil.  Spread the tortilla chips in an even layer over the baking sheet.   Add the turkey meat and then the bean topping.  Sprinkle with shredded cheese and place in the oven for 10 minutes.   Once the cheese is melted remove from oven and top with pico de gallo, sour cream, jalepenos and olives (optional)

I promise they'll never know they're eating something (kind of) healthy!

Are you sneaky with vegetables?  Let us know how.

xo & a pinch,

Kelly


Awesome Ribs

Yes, it's a bold statement.  We'll want your opinion, of course (hence, the comment section) but there is no question about it, these really are awesome.  I hope you'll give them a try.

This recipe was inspired by my favorite time of the month; that special day when my Bon Appetit arrives!  It's a glossy paper party, really.  Due to some account mistake or overpayment, I get two copies (which works out pretty well for Pinch- more bedtime reading material).  

The very best glossy paper party is The Annual BBQ Issue.  A few summers ago, the BBQ issue cover was beautifully adorned with the most luscious rib picture ever.  I had to try.  Skip to now, here I am, several years later writing about those ribs and I realize, they've morphed into my very own luscious ribs!  Of course, I'd be remiss not providing you with my inspiration.  Bon Appetit, who couldn't love it?  Any who, the ribs...

First of all, you have to be a little daring because they're not "traditional" BBQ ribs in any way. The main ingredients are honey, ginger and soy sauce, with a ton of salt, pepper and garlic. That said, no one has turned down seconds on these babies.

The key to these ribs is the marination time and of course, like all things grilled, the cooking process.

What kind of ribs? Pork Baby Backs. I've shown a picture of the minimal rib prep but, thought some of you may want a visual to go with my instructions on "removing the membrane".

Kelly asks:  "why do you have to pull off the membrane?  Gross, by the way." 

Well, if you don't, the meat will be tough and Bon Appetit says to do it, so you do it.   It's no big deal really, most ribs come with a slice to make pulling it off easier for you.

4 people portion

  • 1 rack of ribs (generally 2-3lbs)
  • 6 cloves of garlic
  • 1 Tbsp kosher salt
  • 1 Tbsp sugar
  • 2 Tbsp ground pepper
  • 3 Tbsp soy sauce
  • 3 Tbsp honey
  • 1/4 cup chopped fresh ginger (peel the ginger before you chop it) the little pieces I've shown you in the photo pretty much map to the size a 1/4 cup will be after it's peeled and chopped.
Fresh Ginger 

Fresh Ginger 

Toss all these ingredients into your baby Cuisinart (one of M&P's Kitchen Essentials, post coming soon!).  If you don't have a food processor, you'll need a blender blade.

Generally, I put the garlic and ginger in first, then throw in the rest.

The ribs. Rinse them in cold water and pat them dry before removing the membrane on the back. Cut them into 4 pieces (equal size if you can) and grab a one gallon zip lock freezer bag to marinate.

Membrane removal

Membrane removal

I rub the marinade on each rack before putting it in the bag, then pour the rest of the marinade into the bag. Marinate for 6 hours or overnight, whatever is easier for you.

Here is the consistency of the marinade:

Not too wet. Not too dry.

Not too wet. Not too dry.

When you're ready to grill, you want the grill to be on low (I know, it's counterintuitive but, it has to be the lowest the grill will go or they will burn.

The total cooking time is 24 minutes, with four flips during that time.  Grill one side for 6 minutes, then flip, then 6 minutes on the other side.  Repeat. It's a labor of love and you'll sweat over your grill, but its worth it.

Enjoy,

xo Measure


very much worth it

very much worth it